描述
使用系统内置SMTP(system/library/mail/smtp.php)发邮件过程中,html邮件内容总是无法正确处理。
分析 OpenCart 3.x发邮件相关代码结构
mail接口
<?php
// system/library/mail.php

/**
 * @package     OpenCart
 * @author      Daniel Kerr
 * @copyright   Copyright (c) 2005 - 2017, OpenCart, Ltd. (https://www.opencart.com/)
 * @license     https://opensource.org/licenses/GPL-3.0
 * @link        https://www.opencart.com
*/

/**
* Mail class
*/
class Mail {
    protected $to;
    protected $from;
    protected $sender;
    protected $reply_to;
    protected $subject;
    protected $text;
    protected $html;
    protected $attachments = array();
    public $parameter;

    public function __construct($adaptor = 'mail') {
        $class = 'Mail\\' . $adaptor;

        // 根据参数adapter选择具提的实现
        if (class_exists($class)) {
            $this->adaptor = new $class();
        } else {
            trigger_error('Error: Could not load mail adaptor ' . $adaptor . '!');
            exit();
        }
    }
    // 一系列set函数
    public function setTo($to) {.....}
    public function setFrom($from) { {.....}}
    public function setSender($sender) { {.....}}
    public function setReplyTo($reply_to) { {.....}}
    public function setSubject($subject) { {.....}}
    public function setText($text) { {.....}}
    public function setHtml($html) { {.....}}
    public function addAttachment($filename) { {.....}}

    //发送函数,调用adpater的send来完成发送
    public function send() {

        ...............

        foreach (get_object_vars($this) as $key => $value) {
            $this->adaptor->$key = $value;
        }

        $this->adaptor->send();
    }
}
mail具体功能实现
- stmp.php实现
<?php
//system/library/mail/smtp.php
namespace Mail;
class Smtp {
    public $smtp_hostname;
    public $smtp_username;
    public $smtp_password;
    public $smtp_port = 25;
    public $smtp_timeout = 5;
    public $max_attempts = 3;
    public $verp = false;

    // send函数实现
    public function send() {
        .......
    }

    private function handleReply($handle, $status_code = false, $error_text = false, $counter = 0){}
}- mail.php实现
<?php
// system/library/mail/mail.php
namespace Mail;
class Mail {
    // send函数实现
    public function send() {
        ........
    }
}
opencart 3.x是如何使用mail接口的
以注册通知邮件为例子,catalog/controller/mail/register.php, index()
首先,从数据库读取配置config_mail_engine,作为参数传递给system/library/mail.php的构造函数。
$mail = new Mail($this->config->get('config_mail_engine'));然后设置一系列smtp参数
$mail->parameter = $this->config->get('config_mail_parameter');
$mail->smtp_hostname = $this->config->get('config_mail_smtp_hostname');
$mail->smtp_username = $this->config->get('config_mail_smtp_username');
$mail->smtp_password = html_entity_decode($this->config->get('config_mail_smtp_password'), ENT_QUOTES, 'UTF-8');
$mail->smtp_port = $this->config->get('config_mail_smtp_port');
$mail->smtp_timeout = $this->config->get('config_mail_smtp_timeout');
设置发件信息
$mail->setTo($args[0]['email']);
$mail->setFrom($this->config->get('config_email'));
$mail->setSender(html_entity_decode($this->config->get('config_name'), ENT_QUOTES, 'UTF-8'));
$mail->setSubject(sprintf($this->language->get('text_subject'), html_entity_decode($this->config->get('config_name'), ENT_QUOTES, 'UTF-8')));
$mail->setHtml($this->load->view('mail/register', $data));
发送
$mail->send();添加SwiftMailer支持
通过以上分析,我们知道,要想添加一种新的发件方法,只需要做到两步
- composer安装swiftmail, 命令行执行:composer require "swiftmailer/swiftmailer"
- 在system/library/mai文件夹添加swiftmailer.php。文件中实现一个包含send()函数的SwiftMailer类。
- 数据库中setting表中修改config_mail_parameter为SwiftMailer,使其成为当前使用的mail实现。
实现SwiftMailer类
<?php
/**
 * Created by PhpStorm.
 * User: shyandsy
 * Date: 2/14/2019
 * Time: 9:14 PM
 */
namespace Mail;
final class SwiftMailer
{
    public $smtp_hostname;
    public $smtp_username;
    public $smtp_password;
    public $smtp_port = 25;
    public $smtp_timeout = 5;
    public $max_attempts = 3;
    public $verp = false;

    public function send()
    {
        $transport = (new \Swift_SmtpTransport($this->smtp_hostname, $this->smtp_port))
            ->setUsername($this->smtp_username)
            ->setPassword($this->smtp_password);
        $mailer = new \Swift_Mailer($transport);

        $message = (new \Swift_Message($this->subject))
            ->setFrom([$this->from => $this->sender])
            ->setTo([$this->to])
            ->setReplyTo($this->from, $this->sender)
            ->setCharset('utf-8');
        if($this->html){
            $message->setContentType("text/html");
            $message = $message->setBody($this->html);
        }else{
            $message->setContentType("text/plain");
            $message = $message->setBody($this->text);
        }

        //逐个加载附件
        foreach ($this->attachments as $attachment) {
            if (file_exists($attachment['file'])) {
                $message->attach(Swift_Attachment::fromPath($attachment['file'], 'image/jpeg')->setFilename(basename($attachment['filename'])));
            }
        }

        //发出
        try {
            $mailer->send($message);
        } catch (\Swift_ConnectionException $e) {
            trigger_error("There was a problem communicating with SMTP: " . $e->getMessage());
            exit();
        } catch (\Swift_TransportException $e){
            trigger_error("There was a problem transport with SMTP: " . $e->getMessage());
            exit();
        }
    }
}
修改数据库,让SwiftMailer成为当前mail实现
数据库中执行以下SQL命令即可
UPDATE `oc_setting` SET `value` = 'swiftmailer' WHERE (`key` = 'config_mail_engine');后台设置中添加swiftmailer
- view中添加:admin/view/template/setting/setting.twig
{% if config_mail_engine == 'mail' %}
<option value="mail" selected="selected">{{ text_mail }}</option>
{% else %}
<option value="mail">{{ text_mail }}</option>
{% endif %}
{% if config_mail_engine == 'smtp' %}
<option value="smtp" selected="selected">{{ text_smtp }}</option>
{% else %}
<option value="smtp">{{ text_smtp }}</option>
{% endif %}

<!--增加swiftmailer-->
{% if config_mail_engine == 'swiftmailer' %}
<option value="swiftmailer" selected="selected">{{ text_swiftmailer }}</option>
{% else %}
<option value="swiftmailer">{{ text_swiftmailer }}</option>

{% endif %}- language中增加text_swiftmailer,admin/language/xxxx/setting/setting.twig
$_['text_swiftmailer'] = 'SwiftMailer';测试
截个图吧
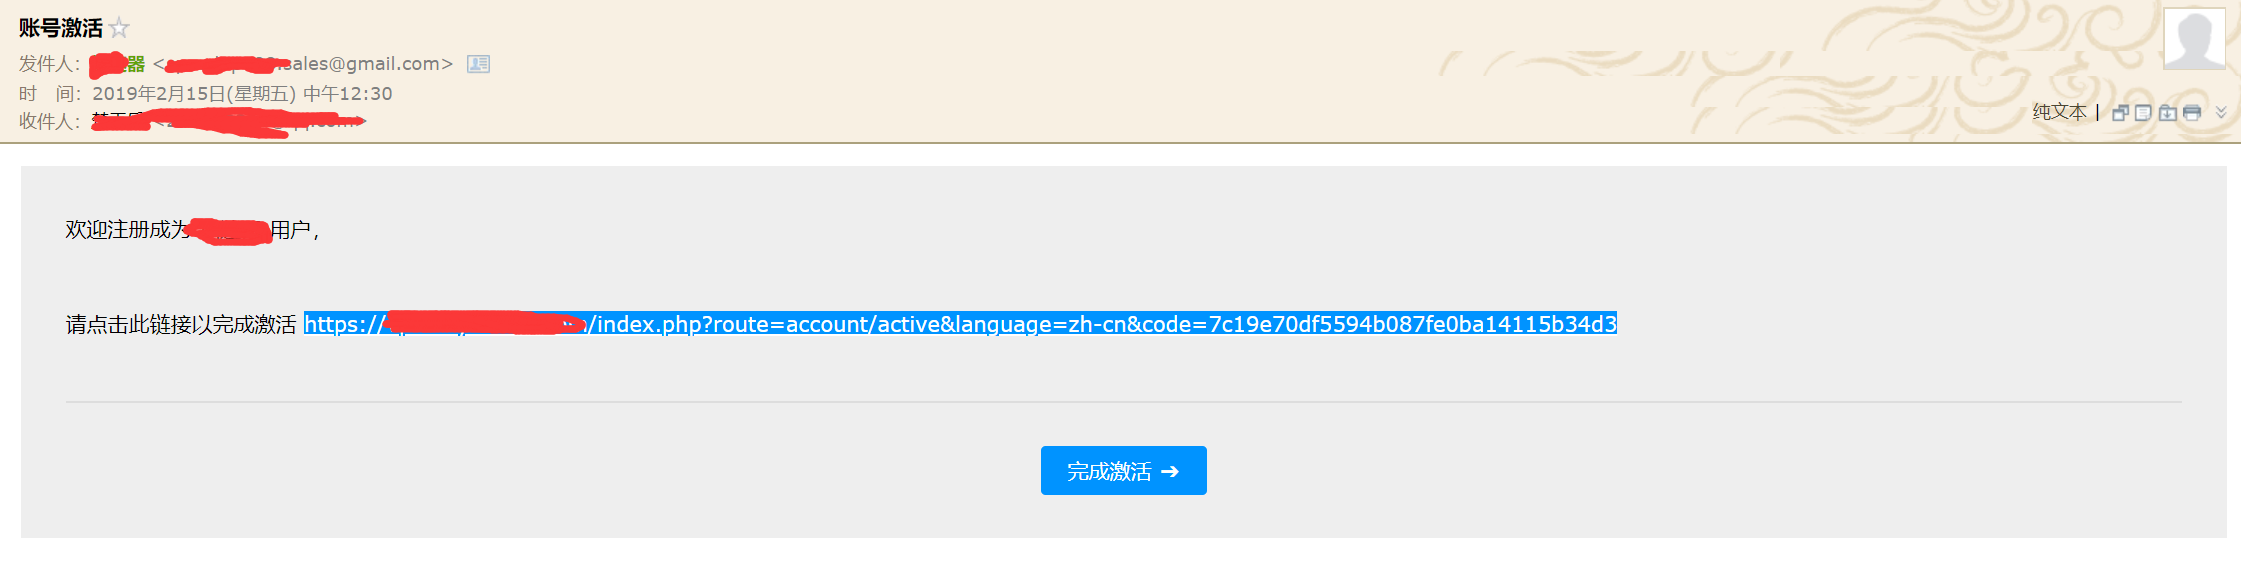
不错哦,赞一个。